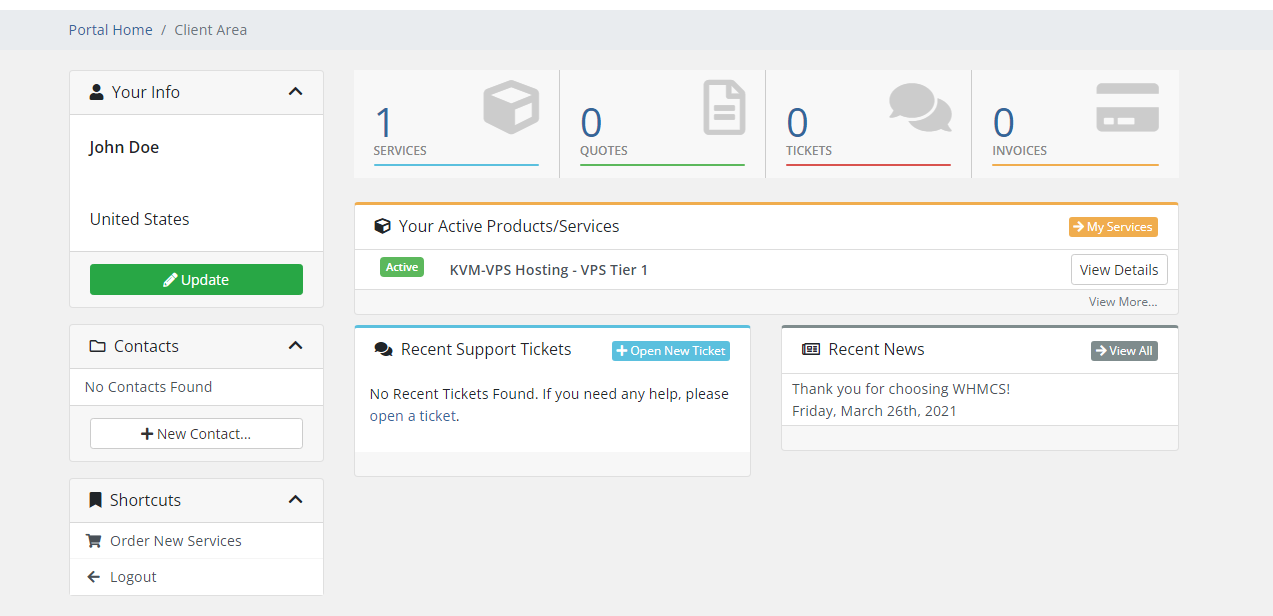
To install your newly purchased server first, head over to your Client Area. Your Client Area will look like this:

Next, click on your active Product/Service:

Then, click on the "Navigate to Control Panel" button:

This should bring you to our VPS' Control Panel and automatically log you in to your control dashboard. Once there, you should see a server that is awaiting setup. Click on the manage button:

Finally, complete the required text fields (a hostname is optional) and choose your preferred OS. Click install at the bottom of the page and the server will automatically install for you! (A SSH key is not needed to connect to the VPS, so you can skip over that part.) You will then receive a email after your server is finished installing with your login information.
If you are having any other issues or still have questions, please open a support ticket with us.

